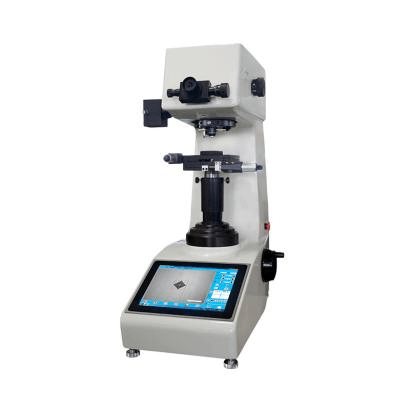
How Can a Vickers Hardness Tester Be Calibrated?

A vital first step in guaranteeing precise and trustworthy results is calibrating a Vickers hardness tester. It involves evaluating and adjusting several of the machine's functional aspects to ensure that it meets specifications. Here's an overview of the process:
Preparation
1. Consult the user manual: Refer to the comprehensive guidelines and instructions found in the handbook for the Vickers hardness tester model.
2. Gather calibration equipment: It is necessary to use certified reference blocks made of materials with known hardness values, such as tempered glass or annealed steel.
3. Environmental conditions: Make sure the humidity and temperature are under control as instructed by the handbook, as these can affect the results of tests.
Calibration Steps
1. Indentation force: Use a force gauge to measure the applied force against the reference block, and then compare the result to the specified value. To obtain the ideal force, adjust the machine's settings as necessary.
2. Dwell time: Measure the dwell time—the length of time the indenter remains on the sample—with a stopwatch, then compare the outcome to the specified value. Modify the timings as needed.
3. Indentation measurement: Measure the diagonals of the Vickers indentation on the reference block using specialized software or a microscope equipped with a graticule. Compare the measured diagonals to the expected values found in the reference material.
4. Calculations and adjustments: Utilize the subsequent equation to determine the Vickers hardness (HV): HV is equal to 1.8544 × F / d², where F is the applied force in kilograms and d is the average diagonal length in micrometers. Compare the computed HV to the reference block's known HV value. Adjust the machine's settings or seek additional troubleshooting guidance from the manufacturer if a discernible variation occurs.
5. Documentation: Maintain a record of all calibration information, including measured values, computations, values for reference blocks, and any adjustments that are required. This record serves as calibration evidence and ensures traceability.
Keep in mind that precise calibration of a Vickers hardness tester requires specific equipment and training. If you are uncomfortable doing the procedure yourself, it is best to consult a qualified technician or certified laboratory.
- Art
- Causes
- Crafts
- Dance
- Drinks
- Film
- Fitness
- Food
- Jogos
- Gardening
- Health
- Início
- Literature
- Music
- Networking
- Outro
- Party
- Religion
- Shopping
- Sports
- Theater
- Wellness


