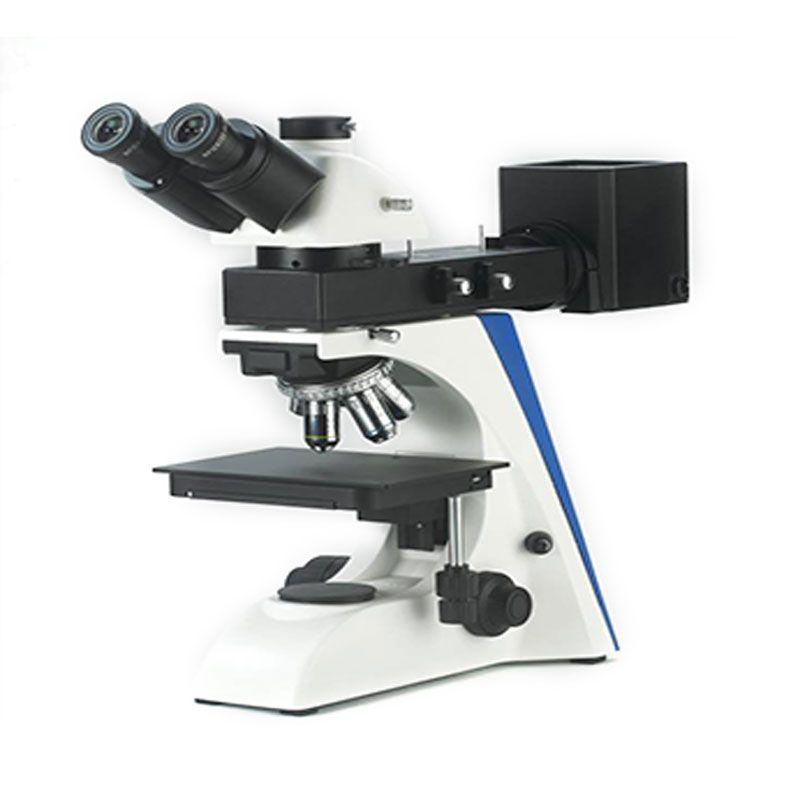
How to Prepare a Sample for Metallurgical Microscope?

Proper sample preparation is crucial for obtaining high-quality images with a metallurgical microscope. The process typically involves the following steps:
1. Cutting: The sample material is cut into a suitable size and shape using a saw or abrasive cutting wheel. Care must be taken to avoid introducing heat or stress that could alter the microstructure.
2. Mounting: The sample is mounted in a suitable medium, such as epoxy resin, to provide support and facilitate handling during subsequent preparation steps. The mounting medium also helps to prevent damage to the sample's edges.
3. Grinding and Polishing: The mounted sample is then ground and polished using a series of progressively finer abrasives to achieve a smooth, mirror-like finish. This process removes any surface irregularities or damage introduced during cutting and mounting.
4. Etching: The polished surface is etched with a chemical reagent to reveal the microstructure. The etching process selectively attacks different phases or constituents within the material, making them visible under the microscope. The choice of etchant depends on the type of material being examined.
5. Cleaning: After etching, the sample is thoroughly cleaned to remove any residual etchant or polishing compounds. This ensures that the image is not obscured by contaminants.
- Art
- Causes
- Crafts
- Dance
- Drinks
- Film
- Fitness
- Food
- Oyunlar
- Gardening
- Health
- Home
- Literature
- Music
- Networking
- Other
- Party
- Religion
- Shopping
- Sports
- Theater
- Wellness


