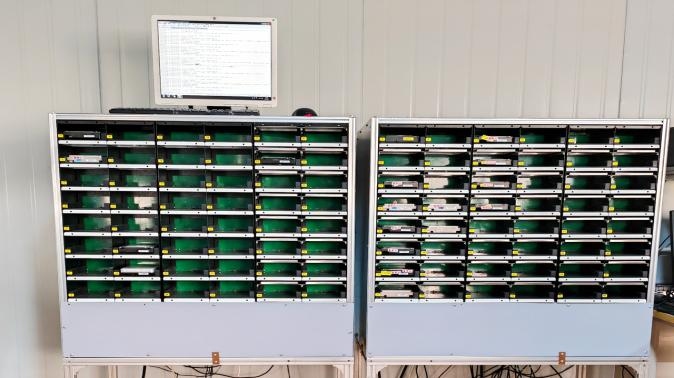
Step-by-Step Guide to Securely Erasing Your Hard Drive
In an age where data privacy is paramount, securely erasing your hard drive is essential before selling or disposing of your computer. At HONGKONG YIKUN, we understand the importance of data sanitization, which ensures that sensitive information is permanently destroyed and the storage device can be reused safely. This blog will provide a step-by-step guide to securely erasing your hard drive, ensuring that your data remains irrecoverable.

Step 1: Backup Your Data
Ensure Important Files Are Safe
Before you begin the erasure process, it’s crucial to back up any important files you want to keep. Use an external hard drive, cloud storage, or another backup solution to save your data. Once the hard drive is erased, recovery will be impossible.
Step 2: Choose the Right Erasure Method
Understand Your Options
There are several methods for securely erasing a hard drive:
- Software-Based Erasure: Use data sanitization software that complies with standards like NIST or DoD. These programs overwrite existing data multiple times, making it unrecoverable.
- Physical Destruction: For the most sensitive data, physically destroying the hard drive ensures that data cannot be recovered. This can involve shredding or crushing the drive.
- Built-in Tools: Some operating systems have built-in tools for secure erasure (e.g., Disk Utility for macOS or Diskpart for Windows).
Step 3: Download and Install Erasure Software
Selecting Reliable Software
If you choose to use software for erasure, download a reputable program designed for secure data wiping. Some popular options include:
- DBAN (Darik's Boot and Nuke)
- CCleaner
- Eraser
- Blancco Drive Eraser
Install the software according to the provided instructions.
Step 4: Prepare Your Hard Drive
Connect and Access
Ensure that the hard drive you wish to erase is connected to your computer. If it’s an internal drive, you may need to boot from a USB or CD containing the erasure software. For external drives, simply plug them into a USB port.
Step 5: Run the Erasure Process
Follow Software Instructions
Open the erasure software and follow the on-screen instructions. Typically, you will select the drive you want to erase and choose the type of erasure method (e.g., single pass, multiple passes). Confirm your selections and initiate the process.
Monitor Progress
The erasure process may take some time depending on the size of the drive and the method chosen. Monitor its progress and wait until it completes fully.
Step 6: Verify Data Destruction
Check for Remaining Data
After the erasure process is complete, it’s essential to verify that all data has been destroyed. Many software programs provide a verification feature that confirms successful erasure. You can also use recovery software to check if any files are still accessible.
Step 7: Dispose of or Reuse Your Hard Drive
Make Informed Decisions
Once you have securely erased your hard drive and verified that no data remains, you can choose to either dispose of it responsibly or reuse it in another device. If disposing of it, consider recycling options that comply with electronic waste regulations.
Conclusion
Securely erasing your hard drive is a critical step in protecting your personal information from unauthorized access. By following this step-by-step guide, you can ensure that your data is permanently destroyed and that your storage device can be reused safely. At HONGKONG YIKUN, we emphasize data sanitization as part of our commitment to sustainability and security in electronic waste management.
If you have any questions about our services or need assistance with data sanitization solutions, feel free to reach out! We are here to help you protect your data effectively!
- Art
- Causes
- Crafts
- Dance
- Drinks
- Film
- Fitness
- Food
- Παιχνίδια
- Gardening
- Health
- Κεντρική Σελίδα
- Literature
- Music
- Networking
- άλλο
- Party
- Religion
- Shopping
- Sports
- Theater
- Wellness


