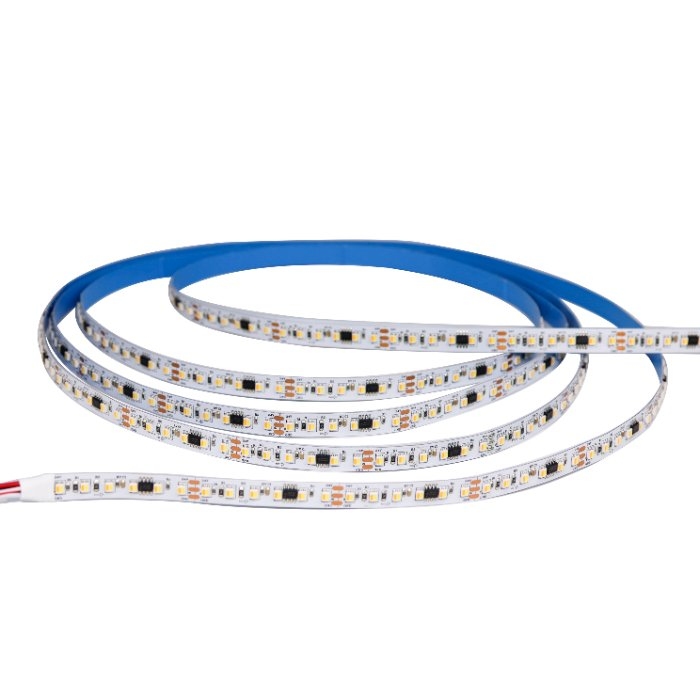
How to Install SPI External Magic Light Strips: A Step-by-Step Guide
Installing SPI External Magic Light Strips can transform your space into a vibrant and dynamic environment. At Tuorongxing Electronics, we offer the SPI-5050RGB-10/60D-24V-10/12mm light strip, known for its high brightness, flexibility, and easy control options. This guide will walk you through the installation process, ensuring you achieve the best results for your lighting project.

Step 1: Gather Your Materials
Before starting the installation, ensure you have the following materials on hand:
- SPI External Magic Light Strip (SPI-5050RGB-10/60D)
- Power supply (DC 24V)
- Controller (compatible with SPI light strips)
- Connecting cables
- Mounting clips or adhesive tape
- Scissors (for cutting the light strip)
- Electrical tape (for securing connections)
Step 2: Plan Your Layout
Determine Placement
Decide where you want to install the light strip. Consider areas like under cabinets, along staircases, or around ceilings. Measure the length needed and plan for any corners or bends.
Mark Your Path
Use a pencil or tape to mark the installation path for the light strip. This will help ensure a straight and neat application.
Step 3: Prepare the Light Strip
Cut to Length
If necessary, cut the light strip to your desired length. Make sure to cut along the designated cutting lines marked on the strip to avoid damaging the LEDs.
Strip Preparation
Peel off any protective backing from the adhesive side of the light strip if using adhesive mounting.
Step 4: Install the Light Strip
Attach to Surface
Carefully press the light strip onto the marked area. If using mounting clips, secure them at intervals along the strip for added support.
Ensure Proper Alignment
Make sure the light strip is aligned correctly and adheres well to the surface. Adjust as needed before fully pressing down.
Step 5: Connect to Power Supply
Wiring Connections
Connect the light strip to the power supply and controller. Ensure that you match the positive (+) and negative (-) terminals correctly to avoid any damage.
Use Electrical Tape
Secure any exposed wires with electrical tape to prevent short circuits and ensure safety.
Step 6: Test Your Installation
Power On
Turn on your power supply and controller to test your installation. Check that all sections of the light strip illuminate properly.
Control Features
Use your remote control or app to switch between different modes (gradient, jump, flash, breathing) and adjust brightness levels as desired.
Step 7: Final Adjustments
Secure Loose Wires
Ensure that all wires are neatly tucked away or secured with clips to prevent tripping hazards or damage.
Enjoy Your New Lighting
Once everything is tested and secure, enjoy your newly installed SPI External Magic Light Strips!
Conclusion
Installing SPI External Magic Light Strips is a straightforward process that can greatly enhance your space's ambiance. With their flexibility and vibrant color options, these light strips are perfect for various applications, from home decor to commercial displays. At Tuorongxing Electronics, we are committed to providing high-quality lighting solutions that meet your needs. If you have any questions about our products or need further assistance, feel free to reach out!
- Art
- Causes
- Crafts
- Dance
- Drinks
- Film
- Fitness
- Food
- Spellen
- Gardening
- Health
- Home
- Literature
- Music
- Networking
- Other
- Party
- Religion
- Shopping
- Sports
- Theater
- Wellness


